Due to its simple, comfortable and tidy bathing experience, the simple shower room has expanded its market demand year by year. More and more families have also begun to install simple shower rooms. What should be noticed when installing a simple shower room? Follow the small series together to understand the simple shower installation steps.
Detailed shower installation steps
1, ready to use the necessary tools.
2, the installation of the bottom basin: a good combination of bottom basin parts, adjust the level of the bottom basin to ensure that no water in the basin, pelvic floor. The hose can be telescopic with the distance, connecting the pelvic floor with the floor drain.
3, test, protection: After the installation of water testing, in order to ensure the smooth flow of water. 4. Finding and punching holes: Use a pencil and a level rule to determine the drilling position of the aluminum material against the wall, and use the impact drill to drill holes.
4. Install aluminum: Knock in the rubber at the hole and lock the aluminum bar to the wall with screws.

5, fixed glass: The glass clamped locked in the hole in the bottom basin, and then fixed with screws.
6. Install the top pipe: Find the corresponding location above the fixed glass drill, install (straight/oblique) mount and connect the top pipe. Fix it to the top of the glass with a bender sleeve.
7, the device racks: the position of the device is calibrated position, tighten the board nut, fixed layer plate glass, to maintain vertical and horizontal. Pay attention to waterproofing under fixed glass aluminum.
8, Install the door: Install the hardware of the door and install the hinge on the reserved hole of the fixed door. After loading, adjust the position of the axis of the lotus leaf until the door feels best.

9, do a good job of waterproof: In accordance with the requirements of the glass on the side or under the installation of suction or water strips. Seam the aluminum with the wall, the glass and the bottom pot joint seam tightly with silicone.
10. Debugging and tightening: Check whether each part is comfortable and smooth, and find that the problem should be adjusted in time. After adjusting, tighten the corresponding screws to make the shower room more secure.
11, finishing work: the decorative aluminum strip into the wall of aluminum, to ensure its neat appearance. Finally wipe the entire shower room with a rag.
Reminder: For more information, please pay attention to the information on this website , or you can visit our offline experience directly.
More exciting recommendations
Huida bathroom prices
American standard bathroom official website
Faenza bathroom how
Wrigley how to bathroom
Kohler bathroom how
Sanitary Ware Top Ten Brands
Shower Room Shower Room Brand Shower Room Top Ten Brand Glass Door Price Simple Decorative Glass Door
Window and door openings (headers, sills,jambs, thresholds, nailing flanges)
_Deck-to-wall intersections
_ Corner boards
_Wall-to-wall tie-ins
_Foundation sill plates
_Sheathing panel seams
_Under stucco finishes
_Car`s insulation
_ Roof detail areas
_ Gutters
_ Mobile home repair
_Other building joints.
_Exposed pipelines protection.

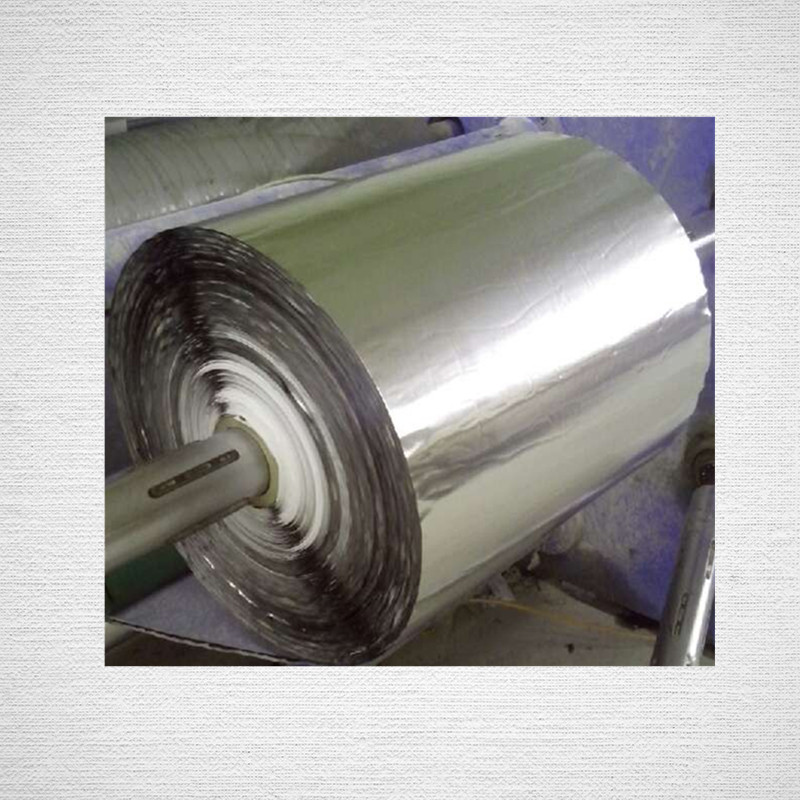
Polyken 940 Aluminum Butyl Tape
Polyken 940 Aluminum Butyl Tape,Aluminum Butyl Tape,Butyl Pipeline Tape,Butyl Rubber Tape,Aluminum Foil Butyl Tape,Aluminum Flashing Tape
Jining Qiangke Pipe Anticorrosion Materials CO.,Ltd , https://www.pipe-wrap-tape.com