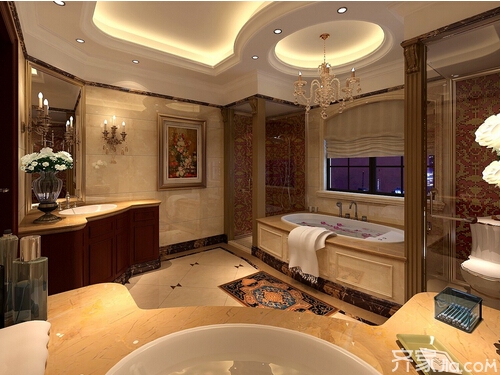
We all know that well-designed ceilings have a variety of shapes and smooth lines can add luster to the interior, and the material that can create such ceilings is plasterboard. Gypsum board ceiling has a good decorative effect and the price is lower than other materials, so it has become the preferred ceiling decoration material for the majority of decorators. If everyone also chooses gypsum board as the ceiling material, it is also very necessary to understand the gypsum board ceiling installation. Process.
| Gypsum board ceiling installation process |
Unlike general construction, preparatory work for ceiling construction is particularly important, including steps such as measurement and material selection. The good work done at this stage can greatly reduce the trouble in construction and guarantee the safety of future use.
| Plasterboard ceiling installation process II. |
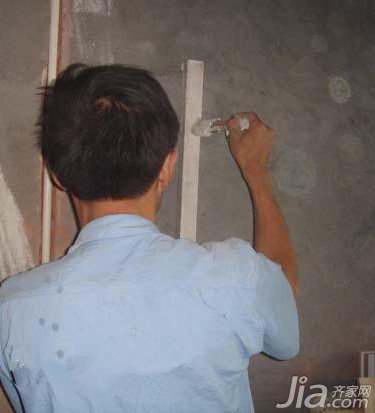
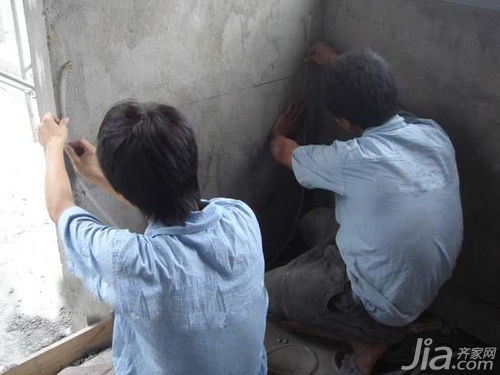
Before the formal construction, the worker first uses the horizontal pipe to measure the level of the ink line on the wall surface. Only when the actual level of the foundation line is ensured, the suspended ceiling installed later will not be tilted or there will be gaps.
| Plasterboard ceiling installation process III. |
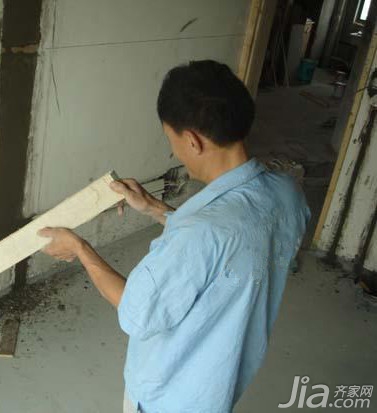
The gypsum board ceiling needs to be fixed on a firm wooden keel frame, so careful selection of the keel material has become an indispensable step before. It is recommended that you try to choose the pine wood material that holds the nail strength better.
| Plasterboard ceiling installation process 4, |
Because the keel is woody, fire precautions must be taken. The standard practice is to evenly paint the fireproof paint on the surface of the keel. The whole keel is white, and then it is nailed to the wall. This can ensure that the wall is in contact with the wall. Fireproof paint.
| Plasterboard ceiling installation process |
The construction of the ceiling includes the steps of playing the keel, putting on the gypsum board, handling the nail hole, caulking, and attaching the bandage. Each step is very important. Everyone in the decoration must strictly supervise whether the workers have done it.
| Plasterboard ceiling installation process VI. |
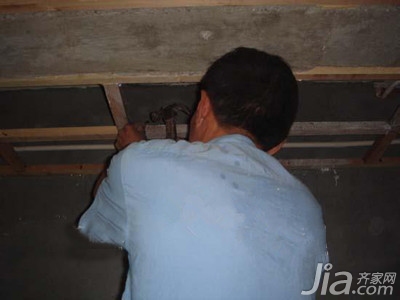
After the surface of the keel has been fireproofed, the combination can begin. Workers will use a nail gun to fix the two keel joints diagonally at 45 degrees. At this time, it is necessary to master the strength to prevent the keel from cracking.
| Plasterboard ceiling installation process 7, |
After fixing the keel frame, it is necessary to fix the frame to the wall. At this time, it is necessary to carefully check whether the spacing between the frames is not more than 300 mm to have sufficient fastness. Otherwise, the gypsum board on it easily sinks and breaks.
| Plasterboard ceiling installation process 8, |
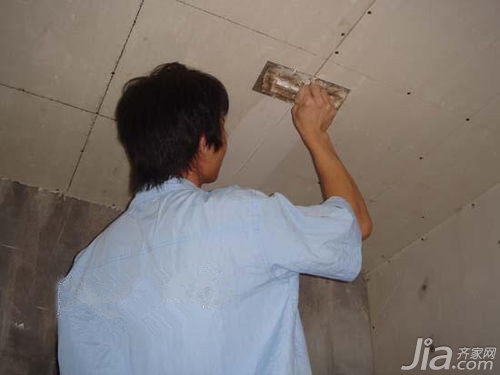
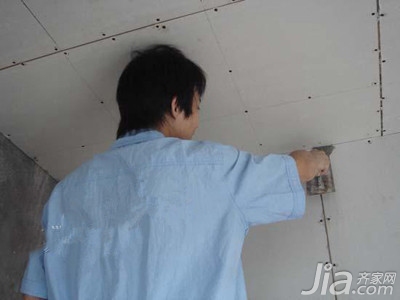
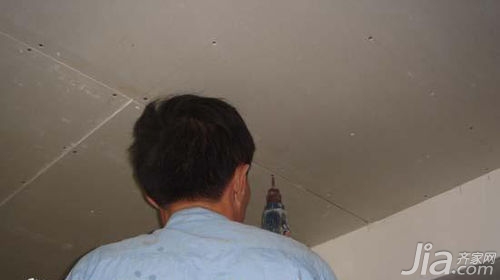
The next step is to officially put on the plasterboard. It is best to allow the workers to use stainless steel drywall screws to fix the gypsum board. Such nails will not rust, and the gypsum board will be guaranteed for a long time in the future.
| Plasterboard ceiling installation process 9, |
The nail holes on gypsum boards are usually treated with rust-proof eye putty, and its practical cement-filled nail eyes are more economical and labor-saving methods. And the effect after the treatment is not worse than nail eye putty.
| Plasterboard ceiling installation process ten, |
The gap between the two plasterboards must be handled in the next step, otherwise there will be obvious cracks in the future. General workers will use 901 glue and gypsum powder after mixing.
| Plasterboard ceiling installation process XI. |
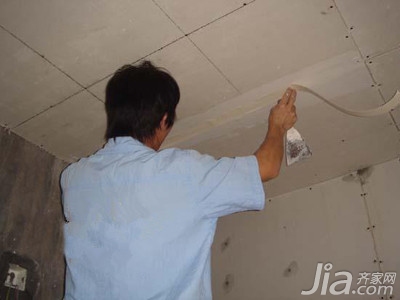
Afterwards, it is best to use anti-crack tape on the surface to prevent the top surface from cracking due to thermal expansion and contraction. When sticking, pay attention to the use of a spatula to remove the air bubbles on one side and allow the tape and plasterboard to be completely and tightly combined.
| Gypsum board ceiling installation process |
The latter stage is the stage of special ceiling molding. The craftsmanship and experience of the workers directly affect the future appearance. Therefore, the decoration company should be asked to dispatch experienced workers to carry out the construction.
| Plasterboard ceiling installation process XIII. |
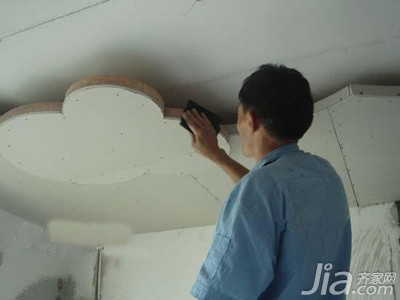
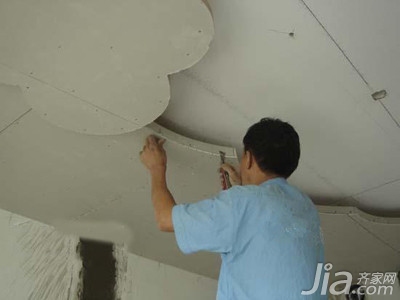
For the special ceiling design, the post-processing is very important. The ceilings, such as circular and wavy, all require experienced masters to repair them slowly with a spatula. This is the most important process for forming the entire ceiling.

| Plasterboard ceiling installation process XIV. |
After the basic shape is repaired, the edge of the ceiling is sanded again and the edges and edges are removed. Must be patient and careful when handling, otherwise it will affect the appearance in the future.
| Plasterboard ceiling installation process |
After a few days of hard work, the ceiling of the home can be completed. As long as the key links in the above several constructions are well grasped, the appearance and safety of the gypsum board ceilings can be guaranteed.
Summary: Read so much about the process of gypsum board ceiling Everybody has a certain understanding of gypsum board installation. In fact, the installation of gypsum board also belongs to the professional and relatively strong work, and ultimately to form a perfect effect can not be separated from skilled technology. The above is a small series of finishing steps on the installation of gypsum board ceilings, if you want to view other content, please pay attention to this site information channel!
Aisle ceiling living room ceiling paint decoration decoration cement stainless steel gypsum board ceiling price
Here are all RYOBI power tools and the designated carbon brushes,motor brushes, electric brushes, motor brushes, electric motor brushes or simply brushes.
For each power tool, there are usually two carbon brushes to choose from: With automatic stop and without automatic stop. Carbon brushes with automatic stop have a spring through the length of the carbon brush. When the carbon brush wears out, the spring gets released, the current to the carbon brush gets interrupted and your power tools switches off at once. The advantage: No additional wear and tear to your power tool. Carbon brushes without automatic stop do not stop functioning at once, but performance of your power tool will detoriate rapidly. Although handy as a warning sign, this usually isn't very beneficial to your power tool.
Ryobi Carbon Brush,Carbon Brush For Ryobi,High Performance Ryobi Carbon Brush,Power Tools Ryobi Carbon Brush
Haimen Hailing Carbon Industry Co., Ltd. , http://www.carbonbrush-hl.com